Since middle school, I’ve enjoyed lifting weights and have absolutely loved fitness. I played sports throughout high school and became involved in bodybuilding during my college years. Throughout that college bodybuilding period, I had access to gyms with fancy equipment and never had the need, or desire, to build exercise equipment for myself.
Throughout my adult years, however, the desire to have a home gym for myself and family took over the desire of wanting to pay for a gym membership. Instead of paying to use someone else’s equipment, why not invest in our own equipment, I thought. We’ve slowly been building up our home gym and adding the equipment we want, for the different kinds of exercises we enjoy doing.
One of these pieces of equipment I’m referring to is actually something my wife and I built ourselves. I call it the workout “country edition” sled. The inspiration for the sled came as a result of increasing knee pain over the years and wanting to fix it. Some of the sleds out there on the web are costly and I wanted to avoid that by building something ourselves. The design we went with is extremely easy to build, easier than most of the “easy” designs you’ll see out there advertised. I think the same thing could be said for the cost, as this design is very cost effective and if you live in a more rural area, you most likely already have the needed material on hand, or your neighbor will.
The design we went with has been extremely reliable and hasn’t failed us, as we use it daily when we workout. I’ll be the first one to admit that it’s not the prettiest piece of workout equipment out there. If cosmetics is something you’re overly concerned with, this may not be design for you. But if you’re looking for something that is cheap, easy to build, and functional, I think you’ll like it.
Material
–Tire
-Eyebolt
-Washer x2
-Nut
-Chain (length will vary depending on your height)
-Metal Clip
-Cut piece of cattle panel
-Weight to put inside the sled
Step #1
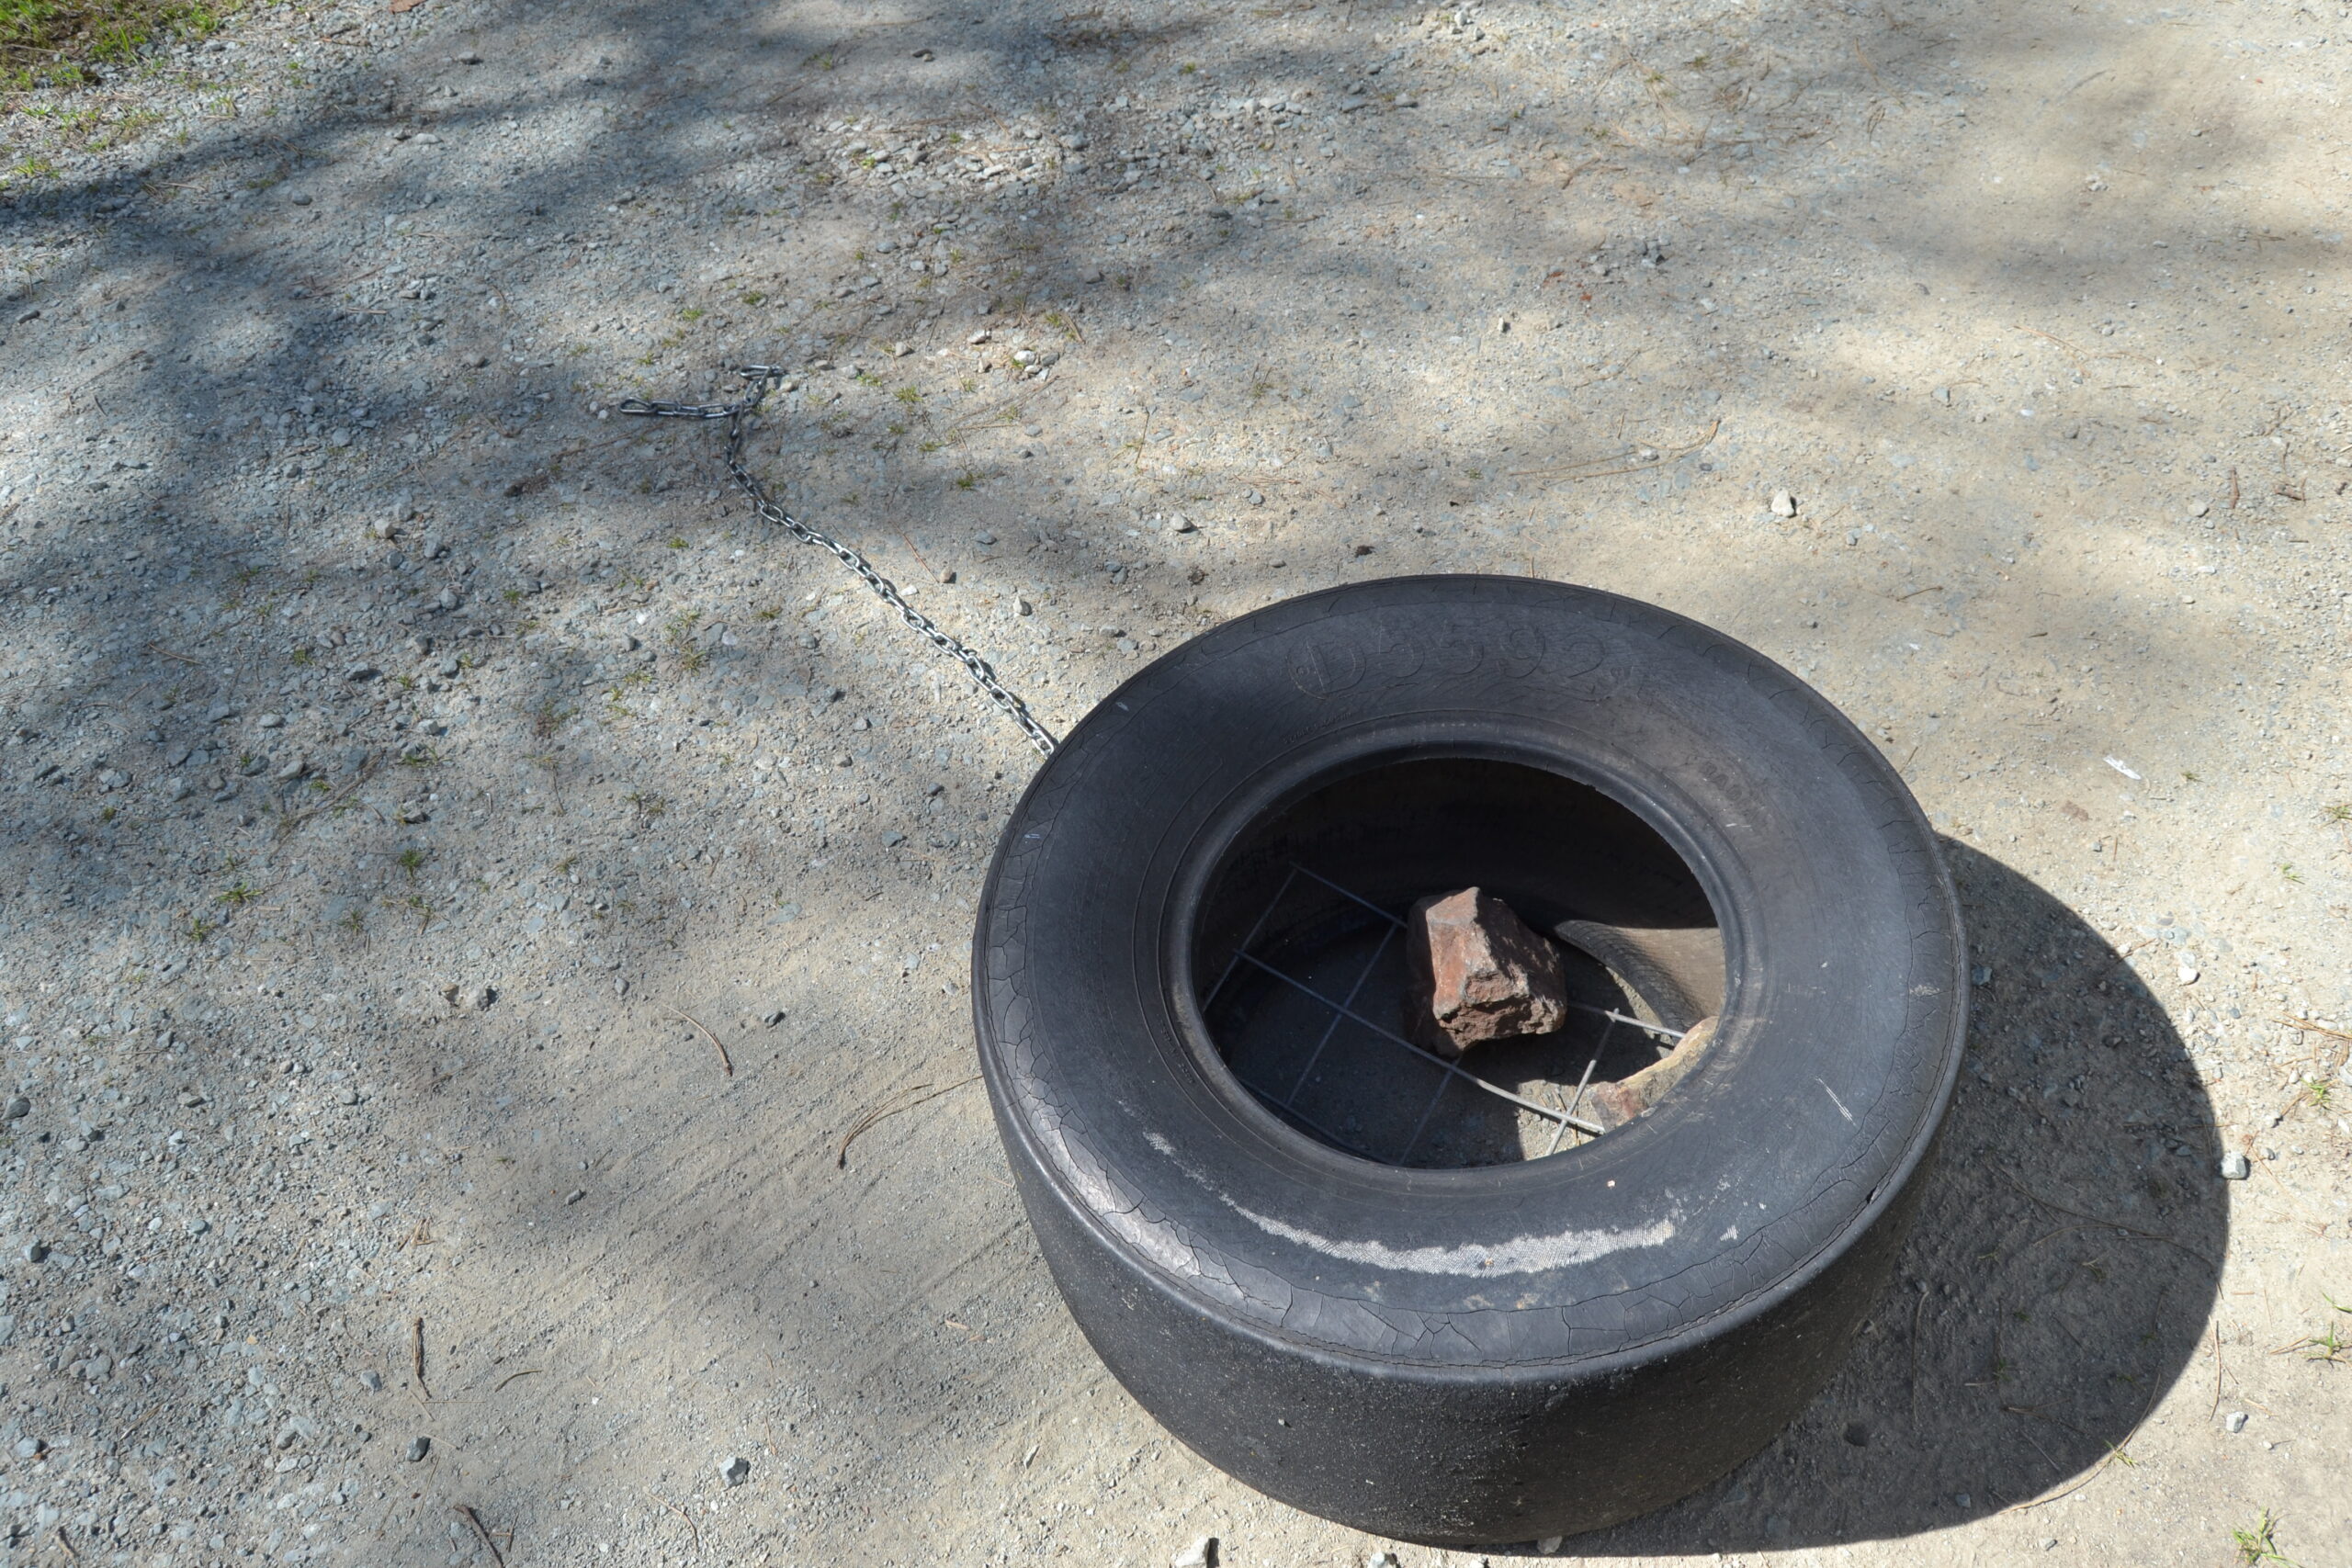
Find or buy a spare tire. The tire will be the main component to the design of the sled. Maybe it’s just my neighborhood (it’s probably not) but when the idea of using a tire for a sled popped into our mind, I immediately noticed that two of my neighbors right next to us had spare tires on their property. I kindly asked my neighbor for the tire and they happily gave it to us, thus cleaning up their yard a bit. Everybody wins.
If you don’t particularly live in the country and don’t see a tire within eyesight of your house, I’m sure it won’t take much to find one around you. Sometimes you can find items like this for free on OfferUp, Craiglist, and so on.
Step #2
The next step was to come up with a way to contain the weight we’d be pulling inside the tire. I went with a very simple solution to accomplish this. Living on acreage with livestock, we have cattle panels all over the place. I simply cut a piece of the metal panel into a square, large enough to cover the bottom of the tire, and small enough for me to bend/stuff it into the tire.
If you don’t have cattle panel lying around, you could probably use a piece of wood or other type of metal platform, just as long as it covers the bottom of the tire. This is the platform that will hold whatever weight you put in the tire, so you want it to cover the bottom so the weight can’t fall through.
The piece of panel I have in my tire does slide around sometimes, depending on how fast I’m pulling it. However, the weight has never fallen through so I personally don’t mind it sliding around.

Step #3
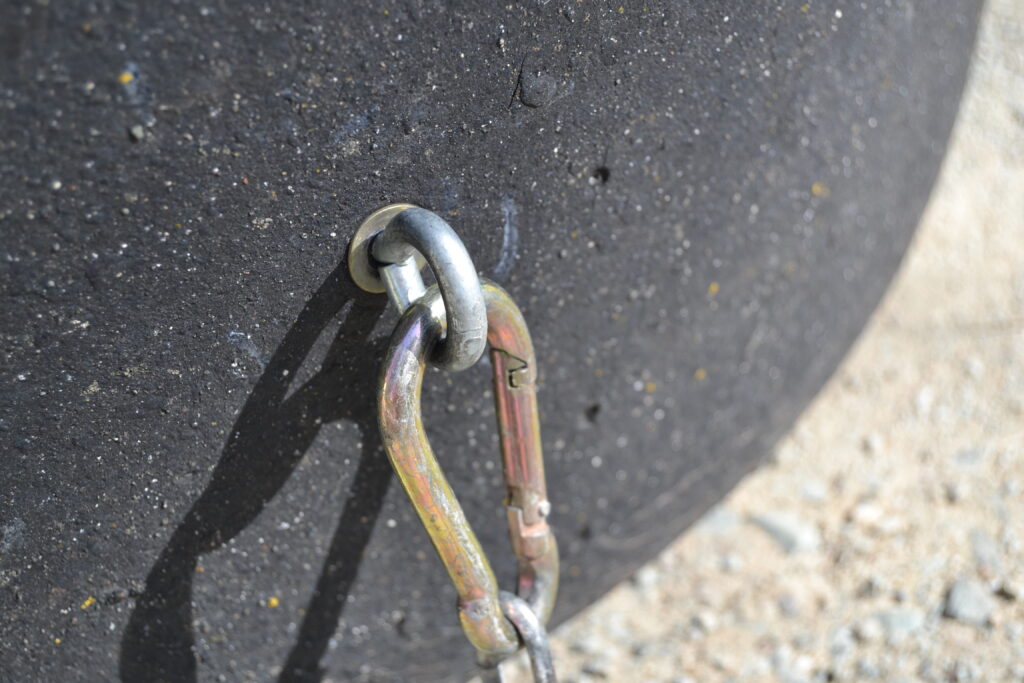
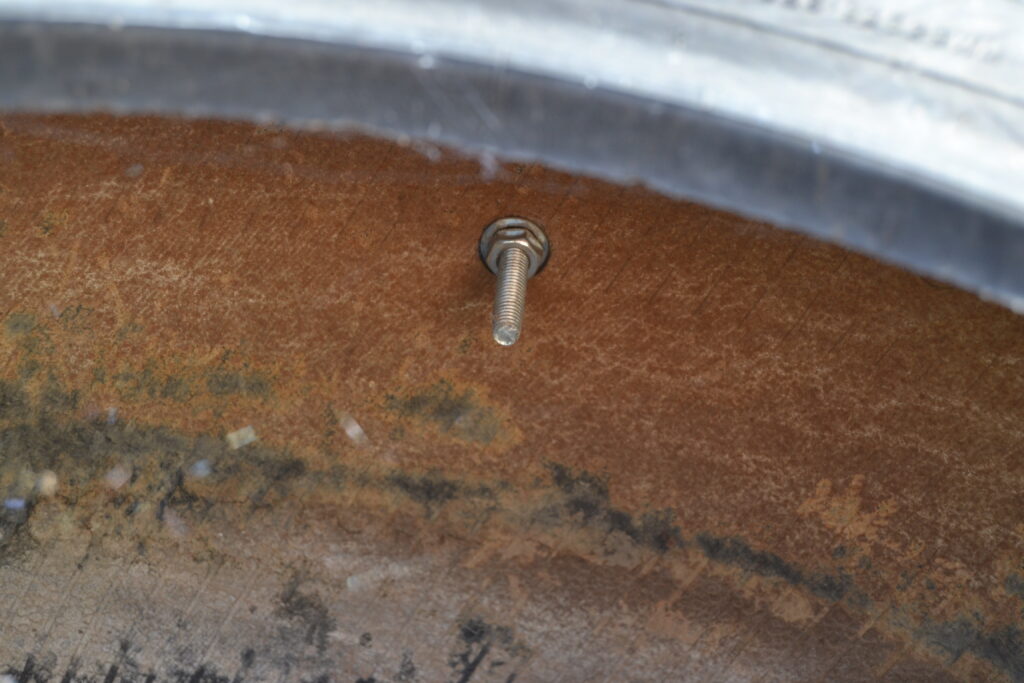
Drill a pilot hole in the center of the side of the tire. Next take your eyebolt with a washer and insert it into the pilot hole. Once through, fasten your second washer washer and nut on. The washers will prevent your eyebolt from slipping through the pilot hole over time, so you’ll want one on both sides of the eyebolt.You’ll use this eyebolt to connect the chain, which will be your means of pulling the sled.
Step #4
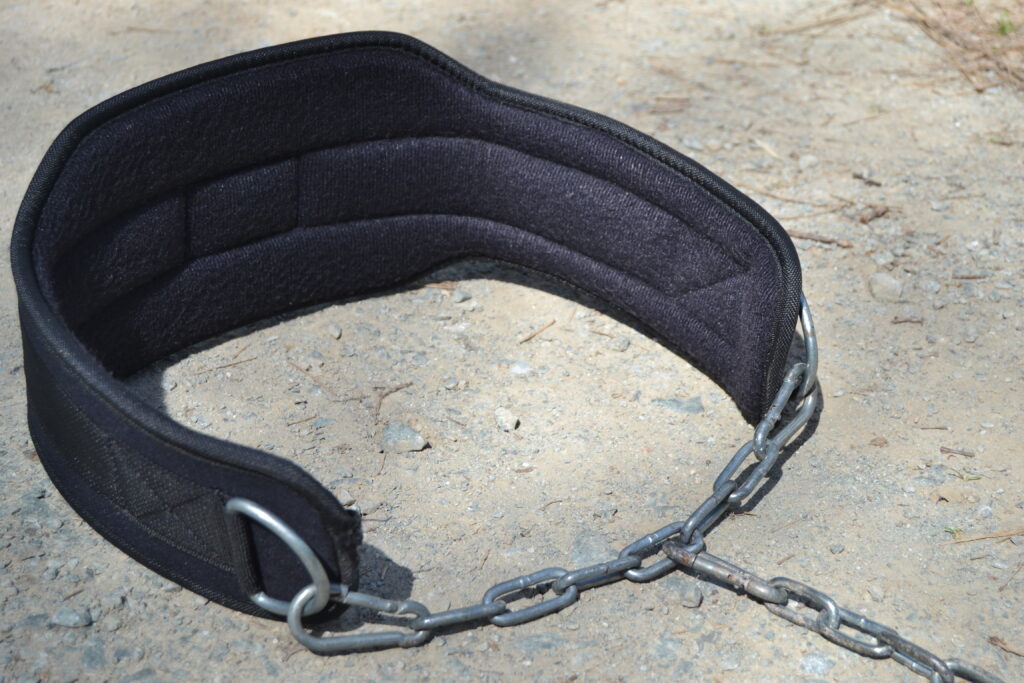
Take your piece of chain with the metal clip attached and clip it to your eyebolt. You can either connect the other end of the chain to a waist belt (which is what I do) or simply hold the end of the chain to pull the sled. You can also play with the chain and make two handles on it to pull, whatever your preferred method is.
Step #5
Add your weight to the inside of the sled…and get to sleddin’! Remember what I call this sled of ours…I call it the “country edition” sled. For weight, I’ve simply thrown large rocks I’ve found onto the metal platform. It’s a simple method because you can simply add bigger rocks for more weight or remove them to lighten it up.
You could also add dumbbells for weight, smaller circular weights if you have them, etc. Remember, the purpose of this sled is to help you function better and get stronger and faster. Don’t get distracted by cosmetics, stay focused on the functionality and results that can come from using this exercise tool consistently.
Final thoughts
We primarily wanted a sled to increase knee health and longevity and have noticed a difference when used consistently. I’ve used the sled for other exercises as well, like wind sprints. This home made sled of ours hasn’t failed and we don’t feel the need to get another sled. We’ve used this thing up our steep driveway, on rough terrain, while running, and haven’t had issues with it. I hope you try this simple design out and enjoy it as much as us. Here’s to sleddin’!
By Kody
2 responses to “DIY Workout Sled”
This is cool! Tough work out for sure 💪
Love this!