
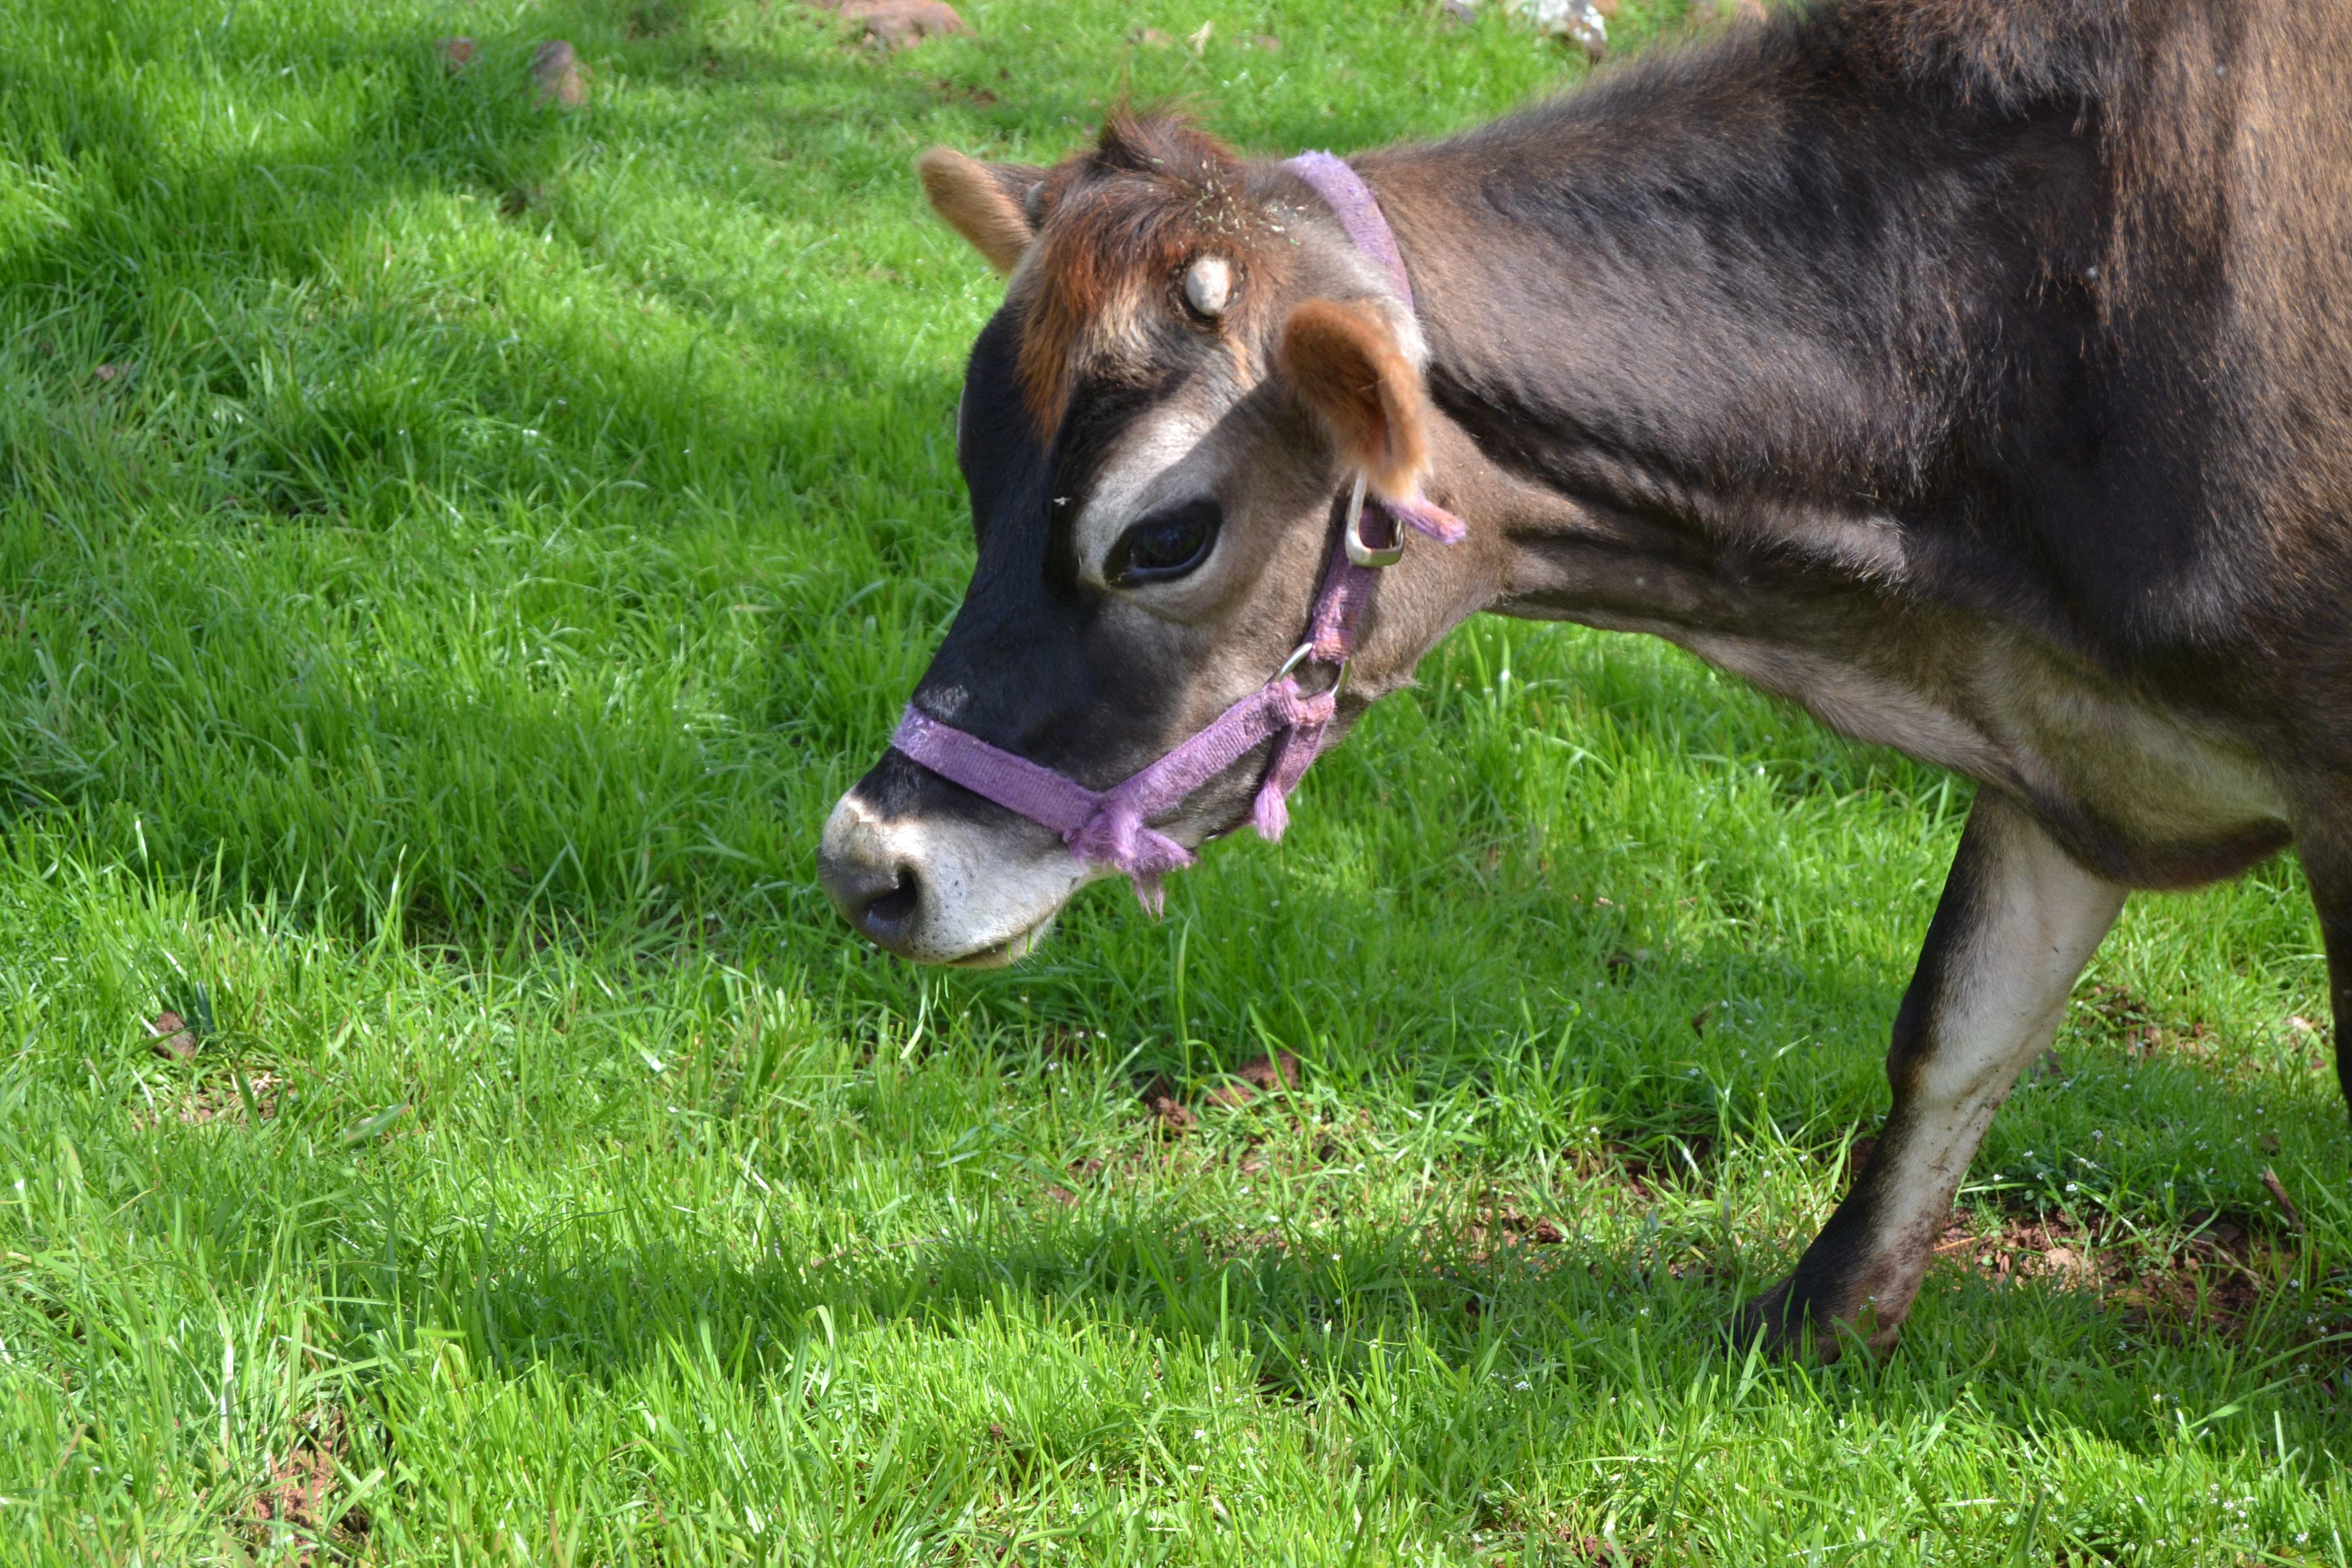
When we got our first dairy cow, we had no experience with cows or milking. We purchased a miniature jersey, Molly, because we had read that they were easy to work with and, while they were smaller than a typical jersey cow, they produced about the same amount of milk but required less feed.
When Molly arrived, we were very excited. We had fields filled with overgrown grass, so she seemed just as excited. She was a heifer, meaning she had never been bred before. When she reached breading age, we successfully bred her using artificial insemination (AI). Her first calf arrived in Spring and we were finally in milk! For the first couple weeks we did not milk her. We wanted to give her and the calf space, and also allow the calf to drink all the colostrum. I know there are differing views on this, but our intention with her was to calf share, and only milk when needed, until the calf was weaned, then milk every day.
When I went out to milk Molly the first morning, I had no idea what I was doing. I had never milked a cow before, and had only seen it done on the handful of YouTube videos I had watched to prepare. In everything I watched and read, everyone had a slightly different system. Eventually I figured out the system that worked best for Molly and I wanted to share it.
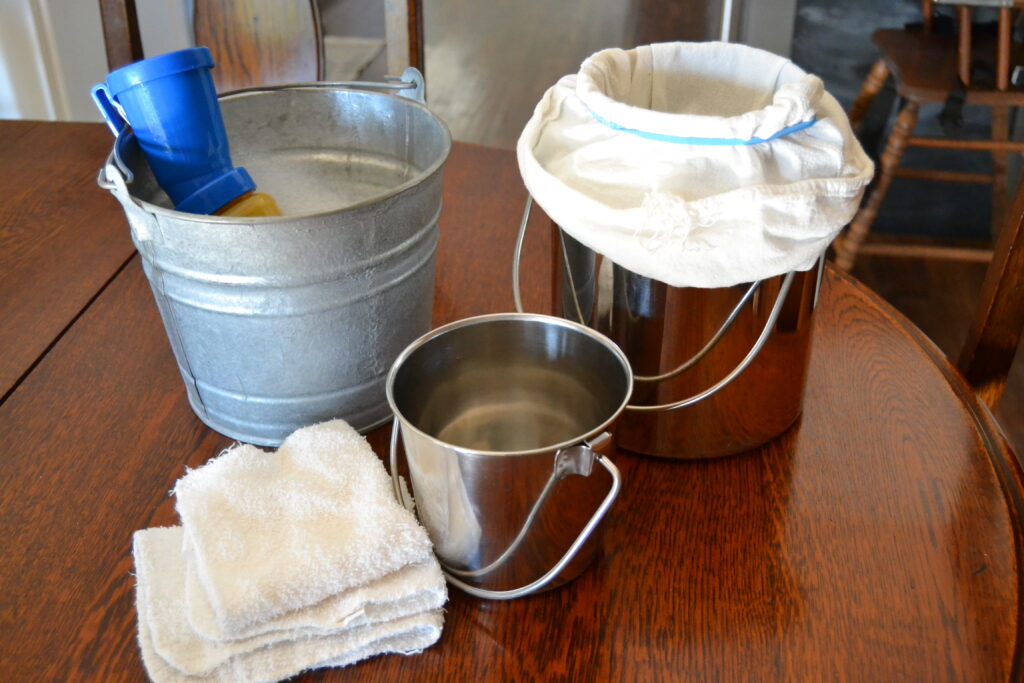
Here is a summary list of everything you’ll need before you get started:
- Storage bucket without seams (size depends on how much milk your cow produces)
- Milking bucket without seams (size is your preference)
- Teat dip cup
- Iodine
- Nut milk bags
- White Terry cloth rags
- Milk straining funnel
- Milk strainer filters
- Soap and water
- Bleach
Step 1: Wash Teats
What you will need:
- Bucket
- Hot water
- Soap
- 2 White Terry cloth rags
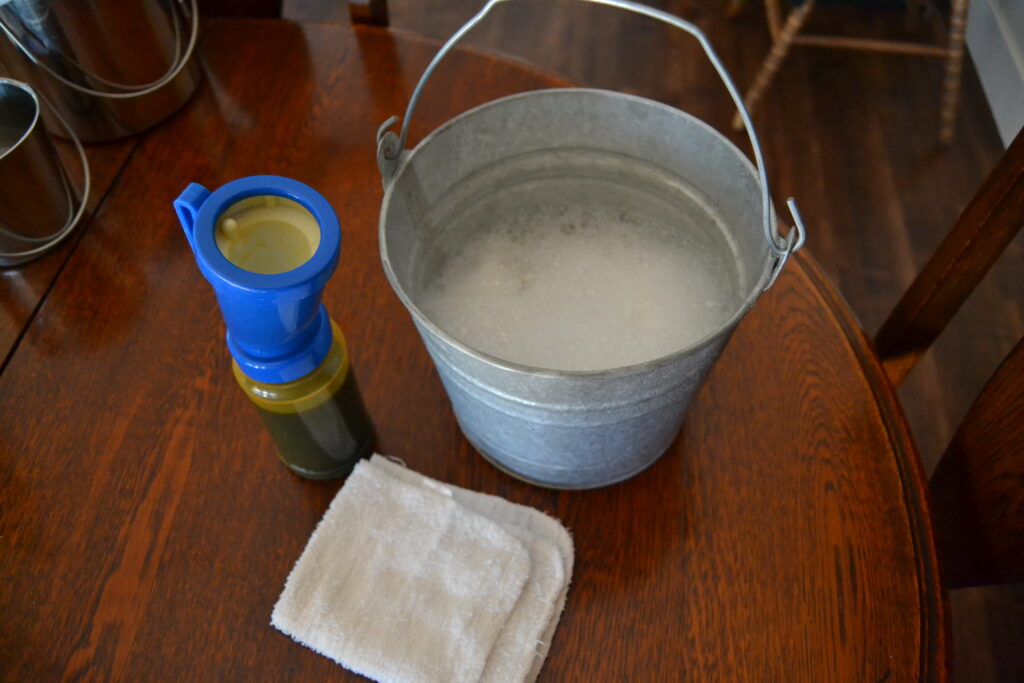
The first step to having yummy tasting raw milk is cleanliness. To wash Molly, I take out a small bucket and fill it with hot water. I usually add two pumps of dawn dish soap and soak two white Terry cloth rags in the water. I like white rags because if I can still see dirt on the rag, then I know I need to keep cleaning. I like the Terry cloth material in particular because they are a little rough textured so they work better to scrub when Molly has dried dirt on her. The first rag I use to clean Molly I don’t put back in my bucket. I am usually able to get most of the dirt off with the first rag and I want to try to keep my cleaning water clean. The second rag is used for the final few wipes, and I will dip that back into the water, until I see no more dirt coming off Molly onto the rag.
One thing to keep in mind with this step is you don’t need to clean the whole udder. Only clean the teats and a little above. You only need to clean where you are going to touch.
Step 2: Sanitize Teats
What you’ll need:
- Povidone-iodine solution
- Water
- Teat dip cup
- 1 White Terry cloth rag
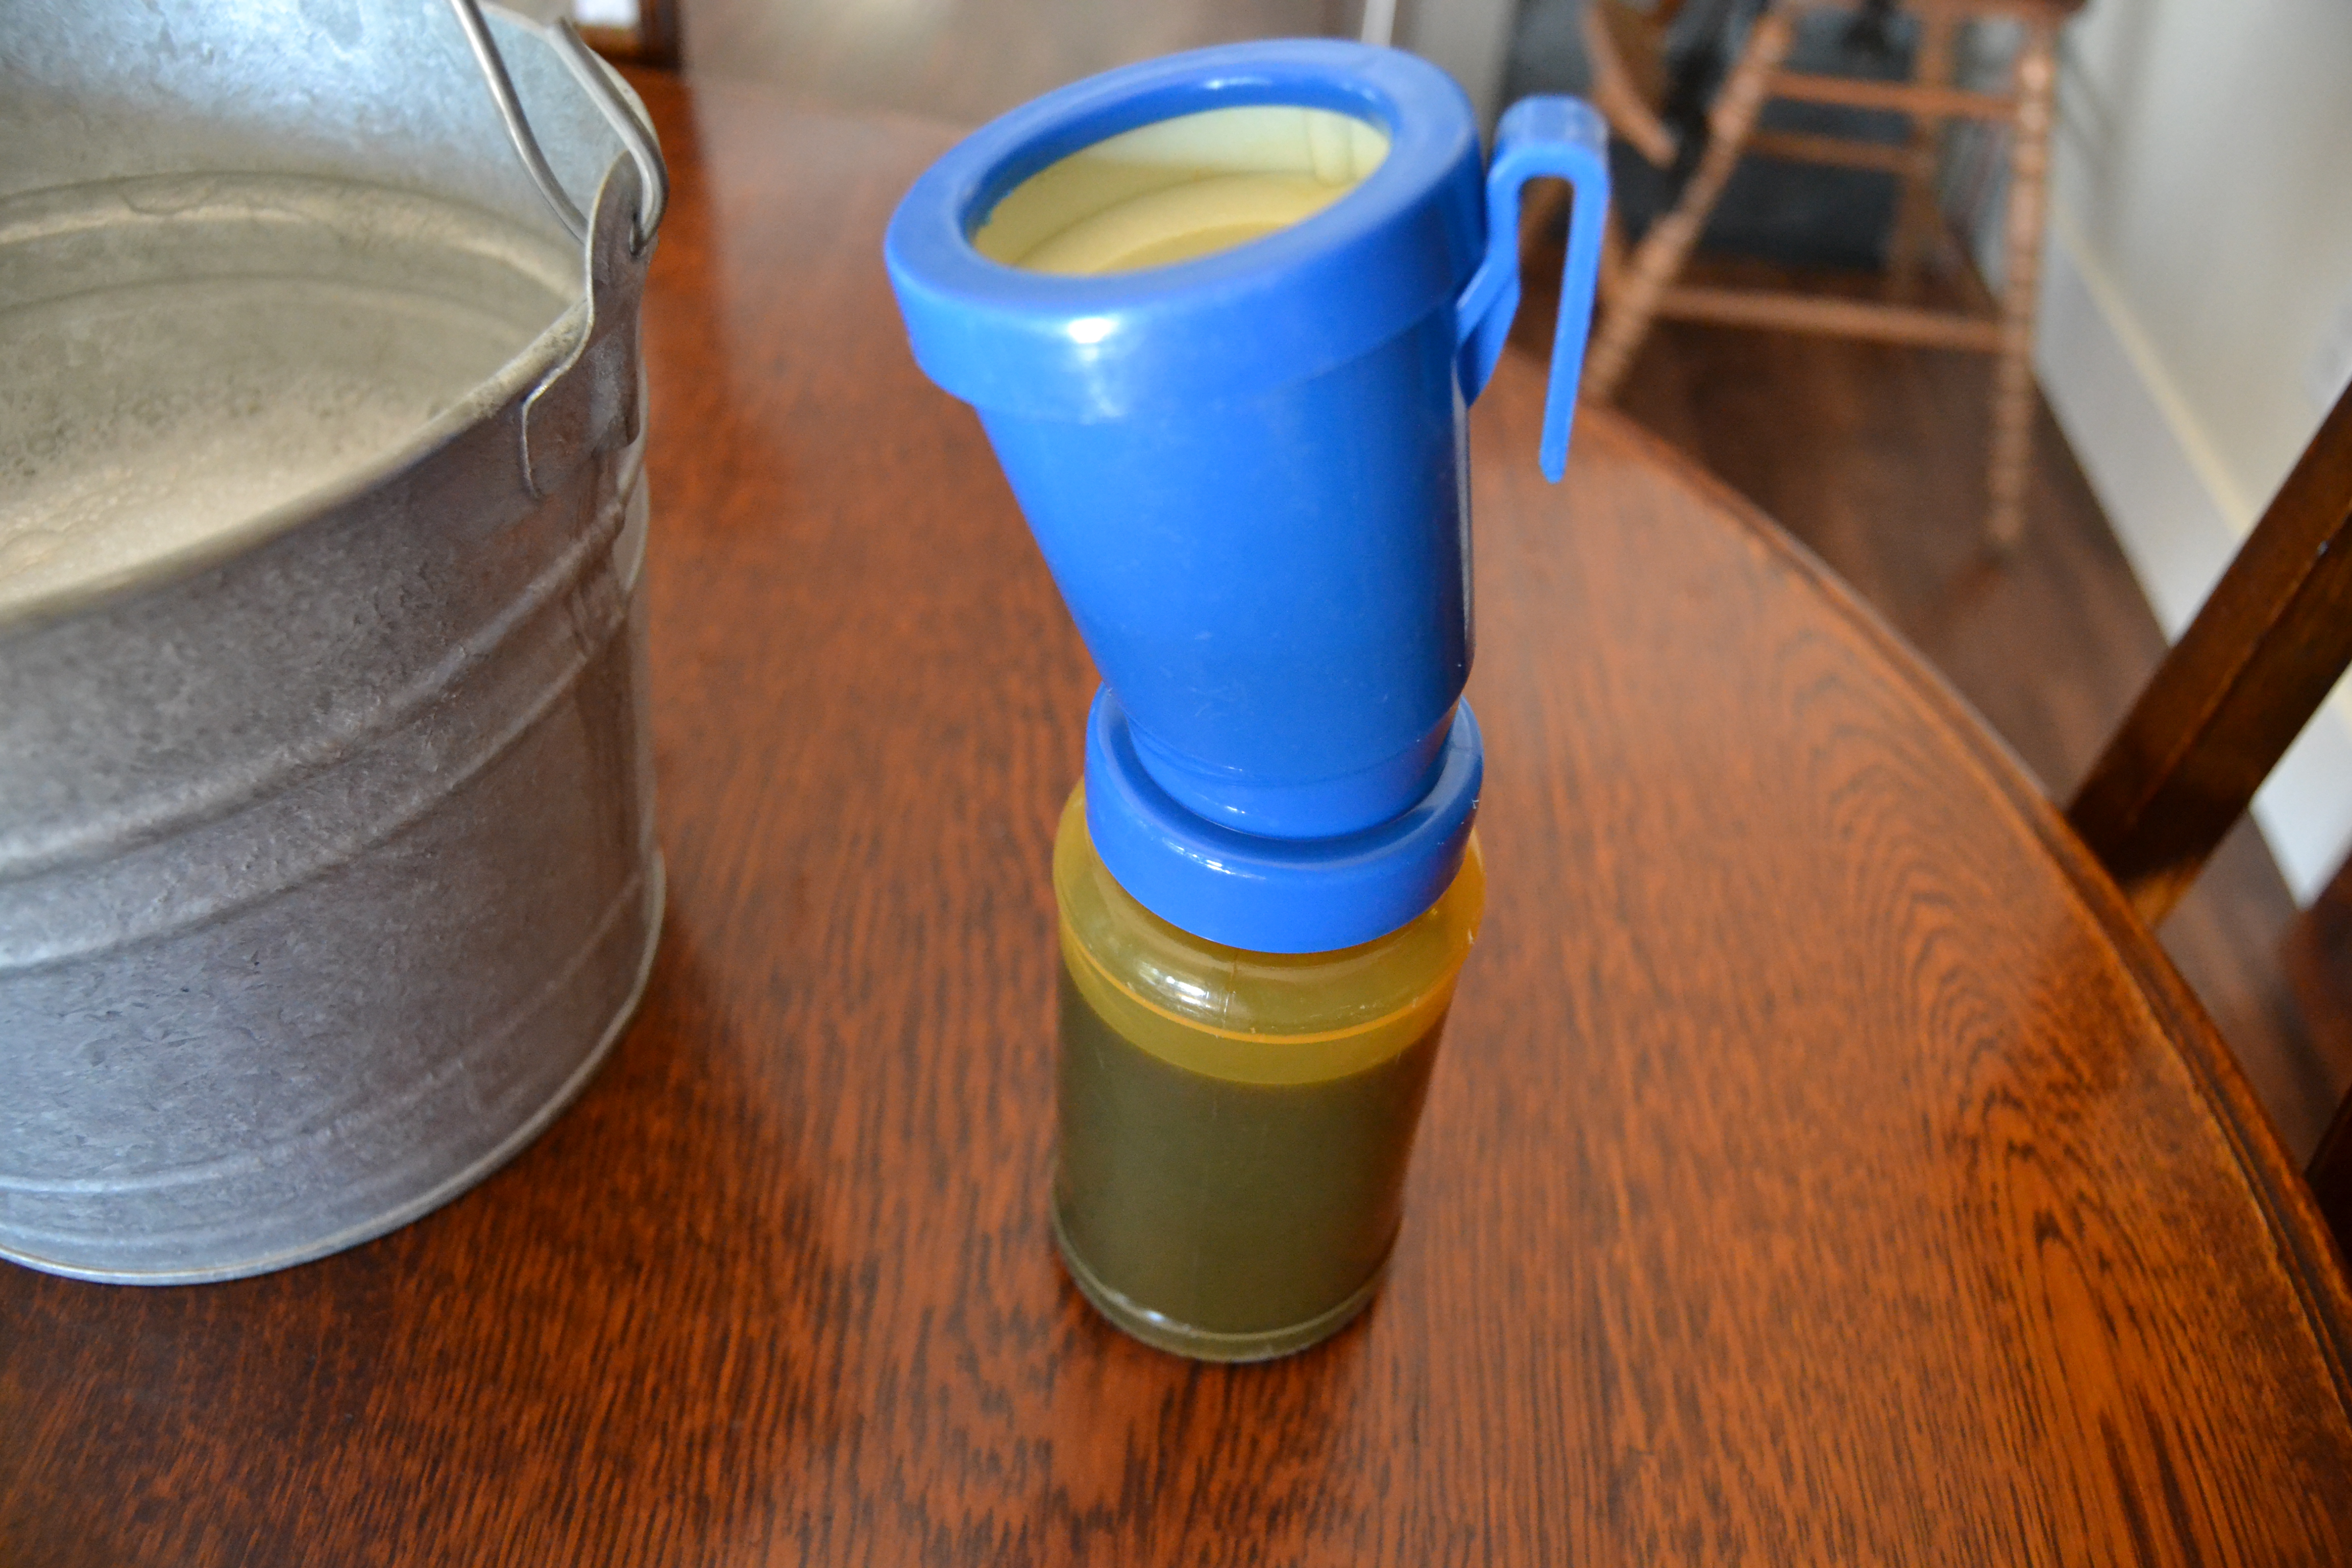
Once Molly is clear of dirt, I will dip her teats in a 1:3 ratio of water and iodine. I premix this every few weeks in the teat dip cup by filling the container up with 2/3 iodine and 1/3 water. Once I dip Molly’s teats, I dry her with a clean and dry Terry cloth rag. You want to make sure she is completely dry of the iodine solution as well as from the previous washing.
Step 3: Strip teats
After sanitizing the area, you are going to strip out the first milk. The first few pumps of milk are the highest in bacteria. Also, you want to clean out her teat ducts of any debris you couldn’t reach during the cleaning. To do this, you milk out 4 to 5 squirts of milk onto the ground from each teat.
Step 4: Milk
What you’ll need:
- Small stainless steel milk bucket with no seams (milking bucket)
- Larger stainless steel milk bucket with no seams (storage bucket)
- Nut milk bag or cheese cloth bag
- Rubber band
- 1 White Terry cloth rag
- Teat dip cup
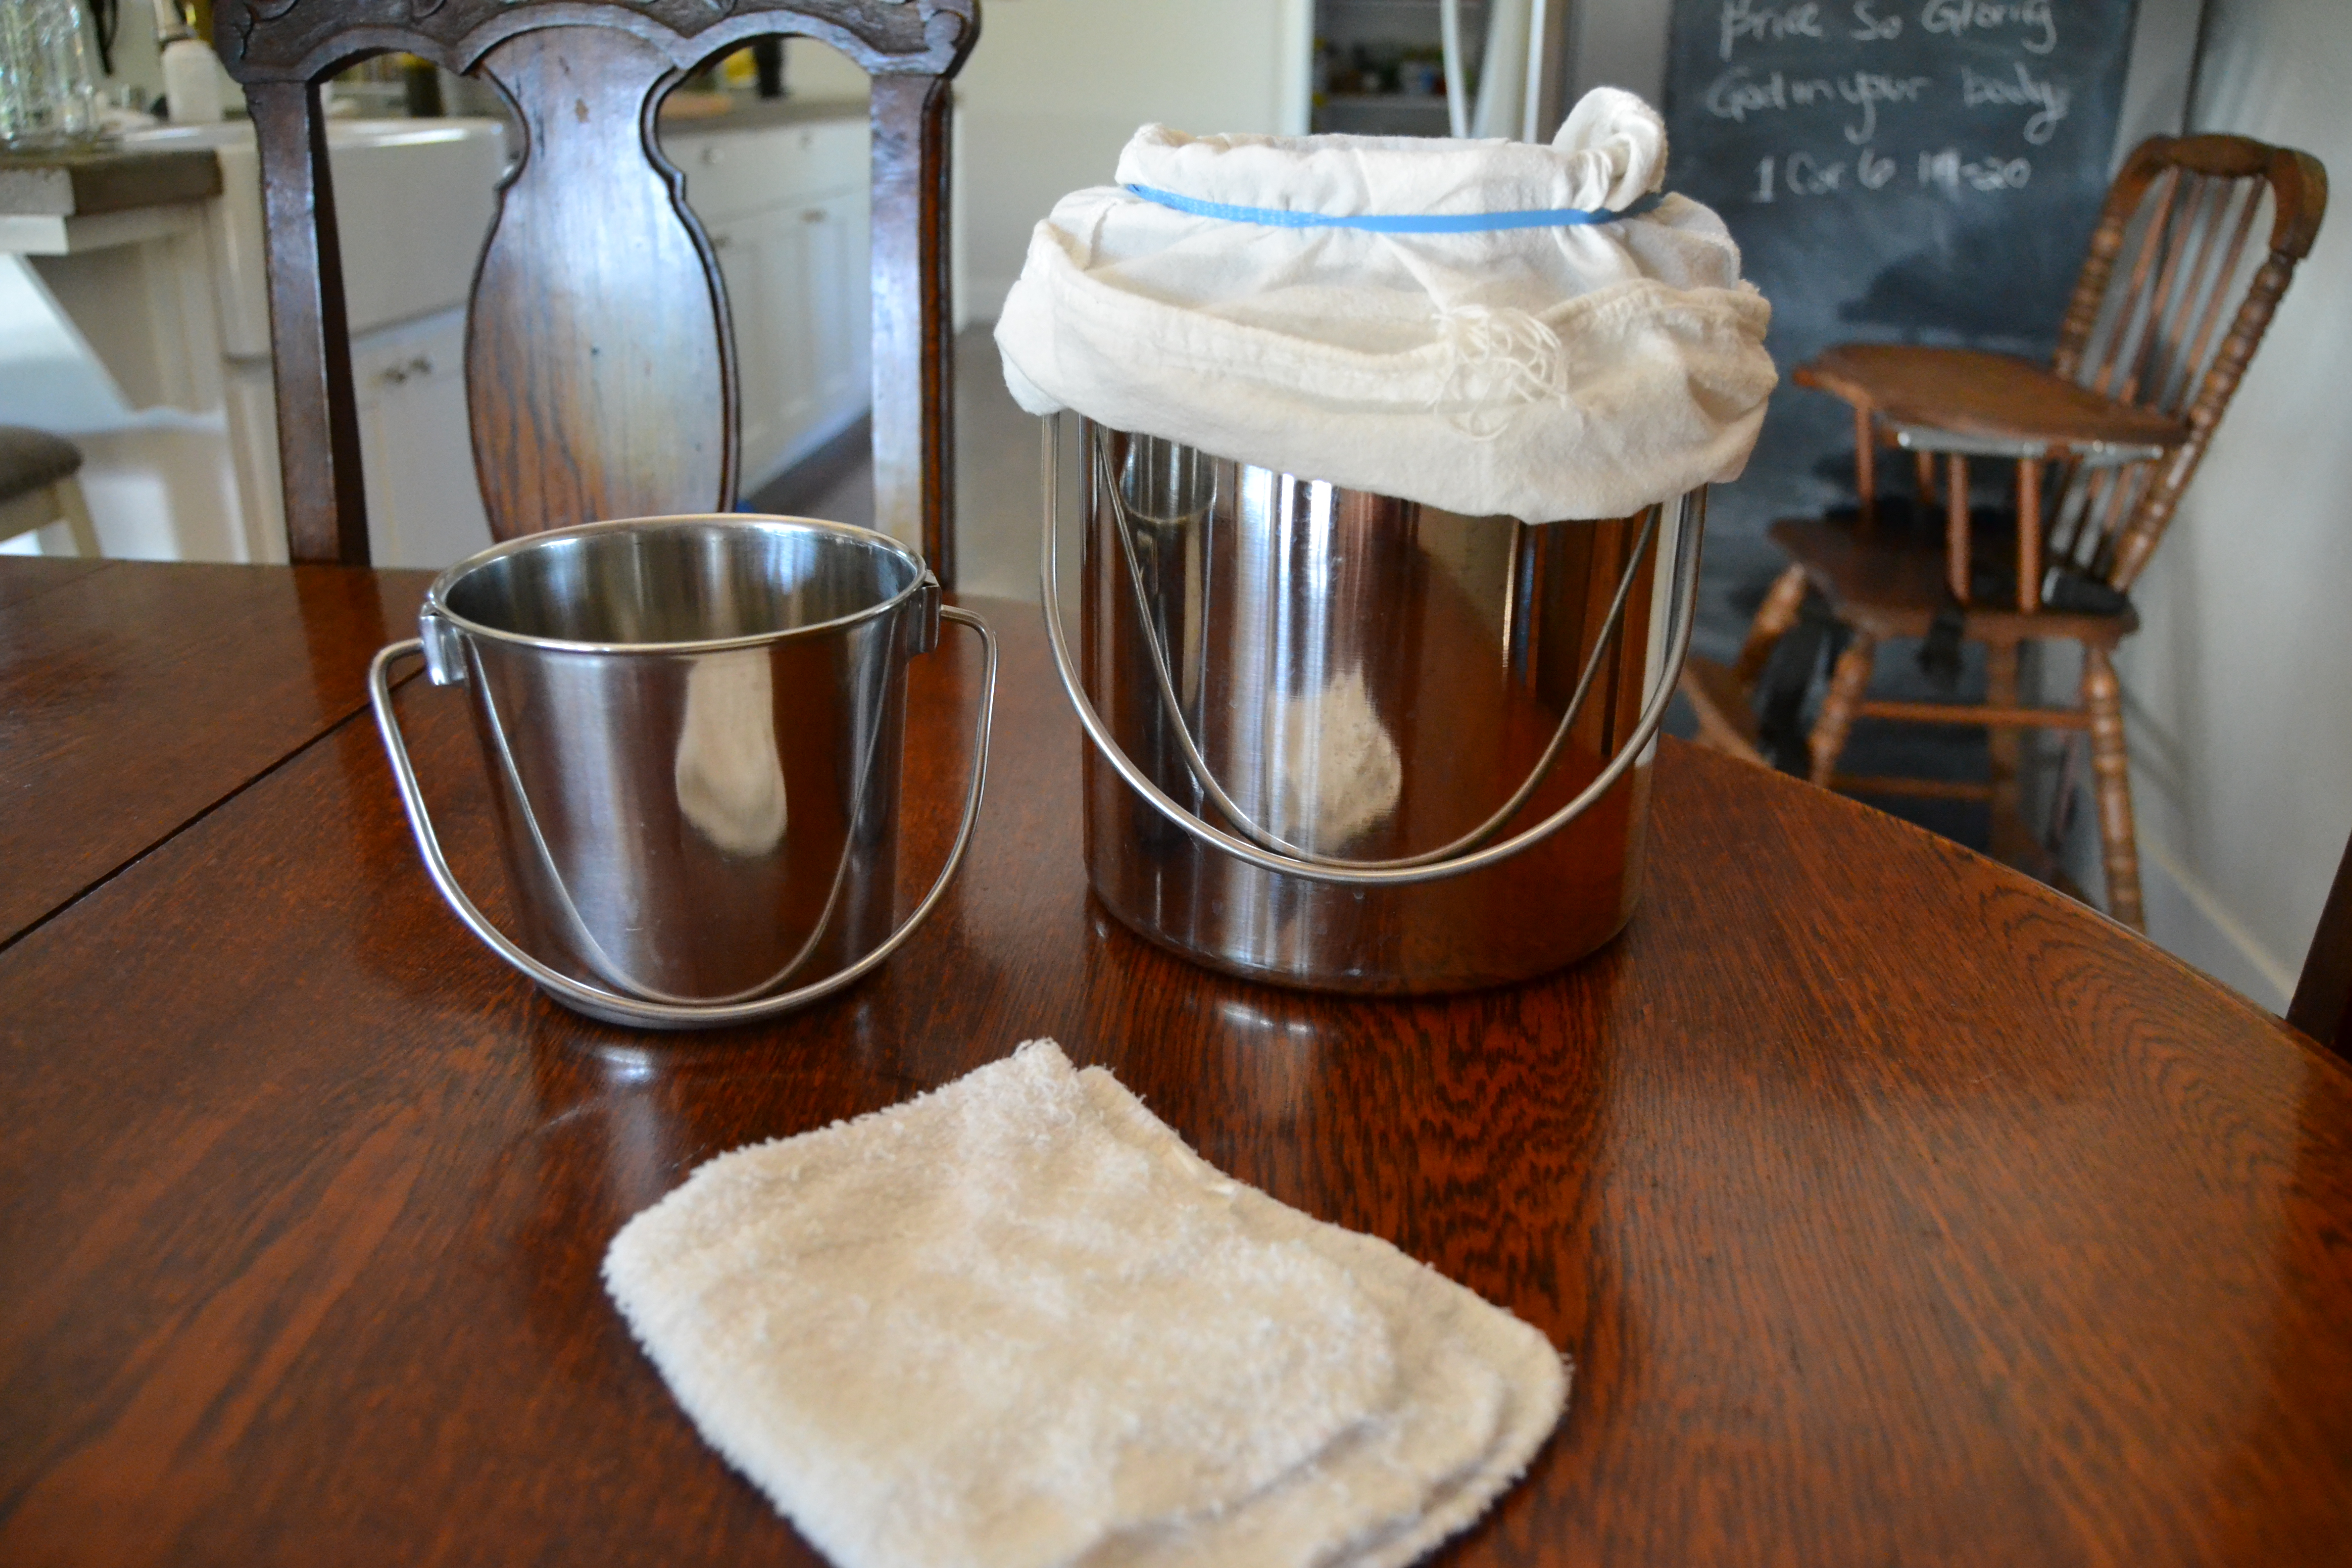
Now it’s time to milk! Molly kicks sometimes so I bring out two milking buckets. The smaller bucket I milk into (milking bucket), and the larger bucket I keep out of range of Molly’s kicks (storage bucket). Once the milking bucket gets full I will empty it into the storage bucket. Molly produces about 1 gallon a day right now. So I use a 1 pint size bucket for milking, and a 1 gallon bucket for storage. This way if Molly kicks my milking bucket while I’m milking, I will only lose 1 pint, and not my whole gallon.
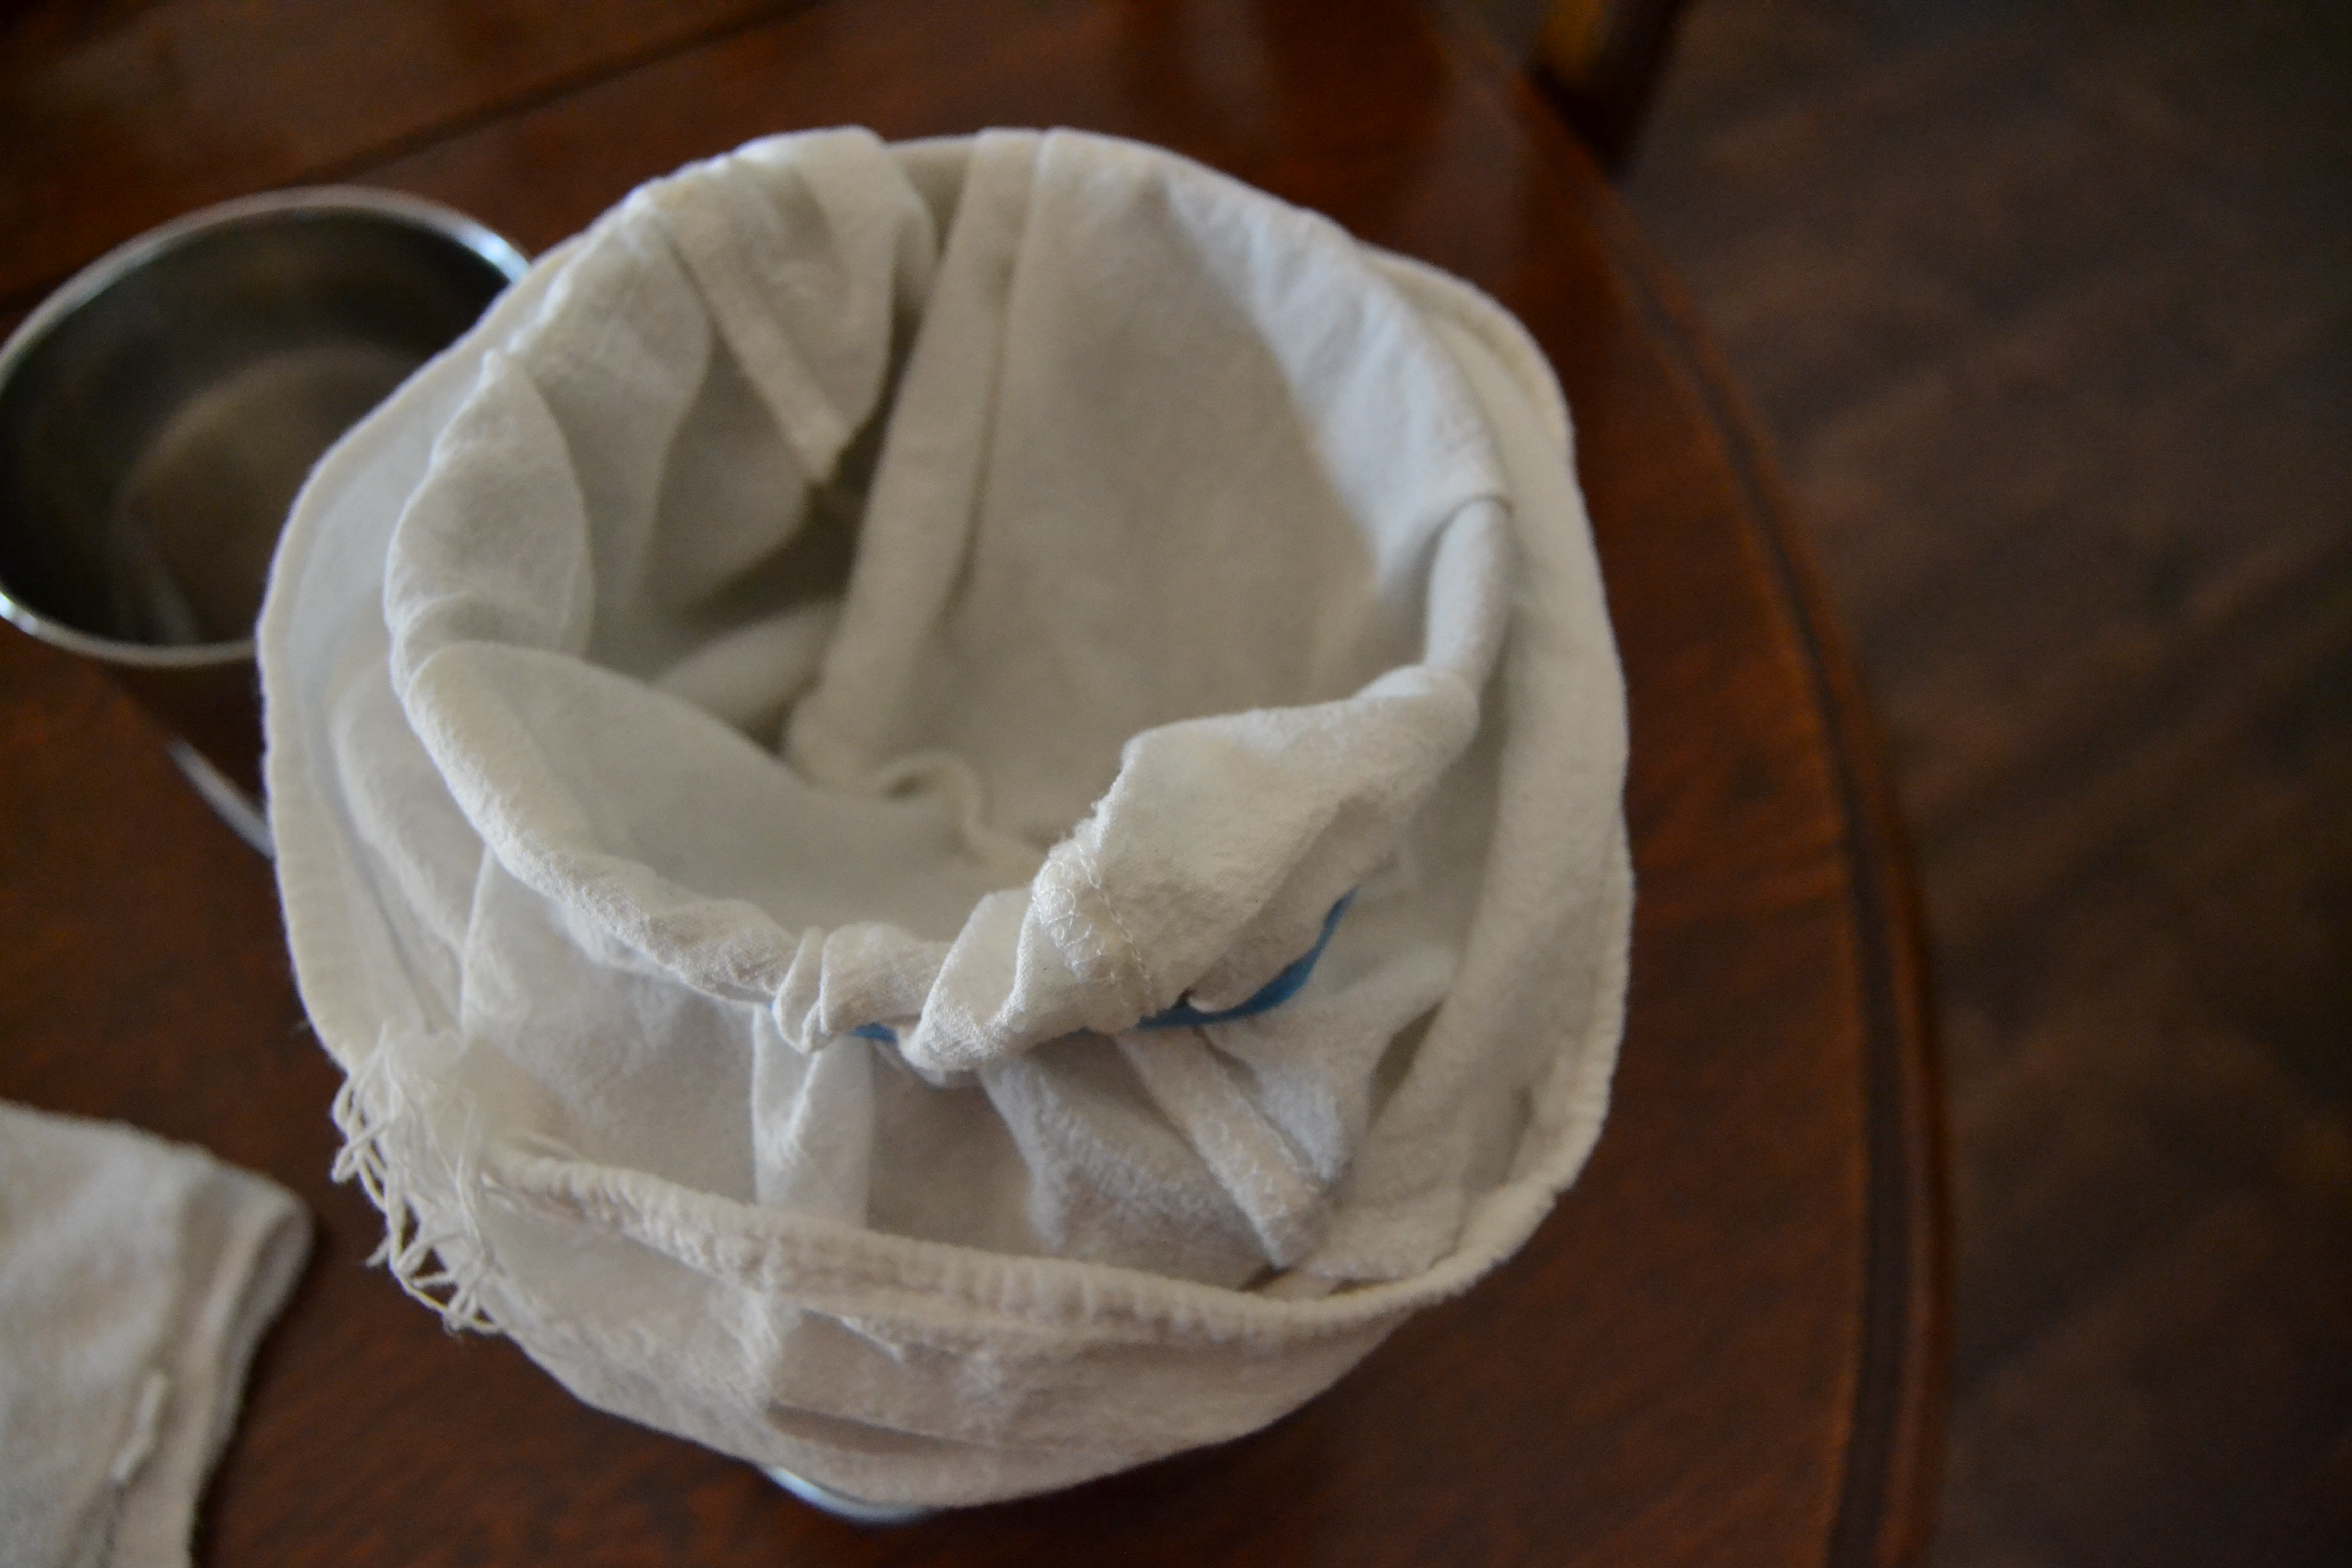
To keep flies and debris out of my storage bucket, I cover the top with a nut milk bag and attach it with a rubber band. I can pour the milk directly into the nut milk bag and it will strain the milk into the storage bucket. This is a double win because it also strains the milk so nothing is sitting in it until I can get it into the house for the final straining.
I also keep a clean and dry Terry cloth rag on me during the milking so I can wipe my hands as needed if I get milk on me.
After you get all the milk out, I dip Molly’s teats again in the iodine solution. This will prevent any bacteria from my hands, that Molly’s body is not used to, from causing any sort of irritation.
Step 5: Straining and Cooling
What you’ll need:
- Milk straining funnel
- Milk strainer filters
Once milking is done, I go into the house and remove the nut milk bag from the top of the storage bucket. I then strain out the milk into 1/2 gallon sized mason jars. To strain the milk I use a milk straining funnel and stainers specially made for straining milking. The milk then goes directly to the freezer to cool for 1 hour. Fast cooling the milk in the freezer will help slow the enzymes from eating the sugars, which helps keep the milk tasting fresh for longer. After cooling for 1 hour, we place the milk into the fridge and it’s ready to enjoy!
Step 6: Clean Buckets and Rags
What you’ll need:
- Hot soapy water
- 1 White Terry cloth rag
- Bleach
The last step is to clean all your buckets and rags to be used again. I set everything in the sink and use hot soapy water to wash all the buckets and to clean the teat dip cup. I use a clean white Terry cloth rag to scrub everything down. I don’t use my dish sponge because if there is anything on the outside of the buckets, from setting them down on the ground, I don’t want that goop on my dish sponge. Finally, I wash all the rags and the nut milk strainer bag in the washing machine, on hot with bleach and separate from any other laundry. This is one of the reasons it’s handy to have white cleaning rags as well – so you can bleach them.
Remember that the key to yummy tasting raw milk is cleanliness, and these steps that are a MUST to ensure that. I hope this helps you in your own journey with your family dairy cow!
4 responses to “Family Dairy Cow: What You’ll Need for Milking”
This is helpful information. It’s a big commitment but it’s the Best milk ever!!!
Best milk ever!!!
Where do you purchase the teat dip cups ?
I love the proper sanitation process. Thank you for sharing this